Searching the internet for a solution to a broken custom eleven was a joke. Here it is and you don’t have to email me to get it. This is a build your own solution. I’m using an SST-600i 6 zone by Rain Bird and 6 24 volt electric solenoid valves. Those of you familiar with the hydraulic controller know the valves buried (who knows where) operate when the controller releases the water pressure running from the water valve through the ¼” tubing to the ¼” drain tube. When the pressure releases, the valve opens to the zone’s sprinkler heads.
The Toro Custom Eleven sends the released water to the ¼” drain line. If your lawn professional doesn’t know that this is a closed system, you will have water running down your wall from the controller. Another story for another time. Get another lawn guy.
If the Toro Custom Eleven Hydraulic Controller is leaking you can use the following solution to operate the sprinkler system manually and fix the leaks. The new timer and electric solenoid valve solution will follow.
Manual Valve replacement for the Toro Custom Eleven Hydraulic 6 Zone Control system:
Turn off the water before removing your Custom Eleven. I used ¼” John Guest fittings to replace the controller – 6 valves, 5 Tee’s, 2 elbow fittings, and 1 coupler. You can probably get by with making the connecting tubes 1 ½” to 2” long. You need 13 pieces of ¼” tubing. Here’s a picture of the masterpiece. All you need to do is open one valve and set your timer. When the timer goes off, close the valve and open the next. Let’s call it a Manually Hydraulic Human Control Timer.
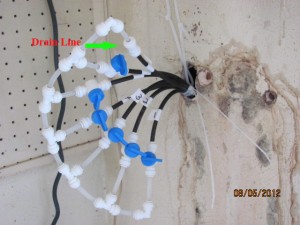
I installed the valves so the handle points to the black tube when it is opened. Makes it easier to explain to someone you need to operate it.
Toro Custom Eleven Hydraulic Sprinkler Controller Replacement
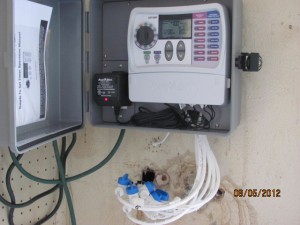
I used an SST-600i Rain Bird 6 zone controller with 6 – 24vac electric solenoid valves in an Orbit Sprinkler Timer Cabinet. This project is for a real do it yourselfer. If your not comfortable with electrical, please ask a handy man to hook this up for you. I had to connect an extension cord to the GFI receptacle because we did not have an outlet where the old controller was installed.
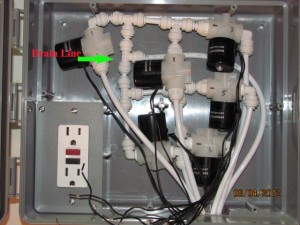
Connect the arrow side of the all the valves to the drain line. You can get fitting counts from the picture. Connect a tube to each valve inlet allowing 10 to 12 inches to extend from the box. Once you have the valves laid out and connected, place a mark on each side of the valves on the box. Drill holes big enough to fit a tie wrap through. Tie wrap the valves to the back of the box so they are secure when you hang it on the wall. Hang the box.
Connect the tubes from the zone valves to the tubes from your solenoid valves, you can turn on the water and check for leaks. Connect one wire from each valve to a piece of 20 gauge about 12” long using a crimp on lug or wire nut. That will be your common wire that you’ll hook to the controller. Mark the other wires per zone.
Install the timer per the timer and Orbit cabinet instructions.
Toro Custom Eleven Hydraulic Sprinkler Controller front
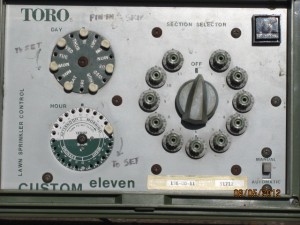
Toro Custom Eleven Hydraulic Sprinkler Controller back
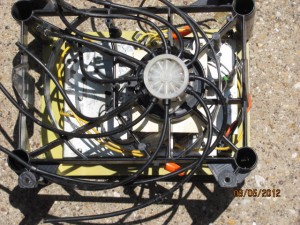
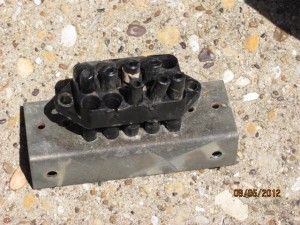
Toro Custom Eleven Hydraulic Sprinkler Controller manifold
[si-contact-form form=’1′]


